Last updated November 18, 2026
The ADU Design Process: From First Sketch to Permit Set
Choosing your kitchen tile before your structural system is locked is like buying furniture before you know the room dimensions. It’s the single most common and most expensive sequencing mistake in ADU design. Most homeowners think the design phase is about finishes, colors, and countertops. In reality, it’s a chain of technical decisions made in a specific order, where each one constrains the next. Get the order wrong and you’ll redraw plans, refile permits, and watch your budget evaporate before a single permit is filed. This guide walks you through the correct sequence for a Paradise ADU, from lot assessment through a permit-ready plan set, so you know what happens, when, and why.
Quick Answer
The ADU design process moves in a fixed sequence: lot and utility assessment, then a zoning envelope study, then structural system selection, then mechanical and electrical rough layout, then floor plan optimization, and finally finish specifications. The structural decision comes early because it dictates foundation design, ceiling heights, and cost. A permit-ready plan set for a Paradise project goes beyond floor plans to include a dimensioned site plan, energy compliance documentation, and utility connection details.
Table of Contents
- The Correct Sequence of ADU Design Decisions
- Step 1: Lot and Utility Assessment
- Step 2: The Zoning Envelope Study
- Step 3: Why the Structural System Comes Before the Floor Plan
- What a Permit-Ready Plan Set Actually Contains
- ADU Designers vs. Architects vs. Design-Build Firms
- Design Trade-offs Specific to Paradise Lots
- Step 6: Finish Specifications and the Casita Mindset
The Correct Sequence of ADU Design Decisions
Design isn’t a single event, it’s a run of decisions. Each one narrows the choices available to the next. When homeowners come to us having already picked out a prefab module or a custom floor plan before anyone checked the lot’s utilities, the project is already at risk. Here’s the order we work through on every Paradise ADU project.
- Lot and utility assessment. What’s the site actually capable of? Access, drainage, existing connections, and room to build.
- Zoning envelope study. Where on the lot can a structure legally sit, and how big can it be?
- Structural system selection. Wood frame, steel, SIP panels, or a prefab module. This decides the foundation, the ceiling height, and a large share of the budget.
- Mechanical and electrical rough layout. Where do plumbing, HVAC, and electrical run, and how does that constrain the walls and ceiling?
- Floor plan optimization. Now the rooms and door swings get locked in, inside a box the first four steps already defined.
- Finish specifications. Cabinets, tile, fixtures, and paint colors. Last, always last.
Reverse any of these and you’re redrawing. Pick finishes before structure and you may fall in love with a vaulted ceiling the chosen module can’t deliver. Pick a floor plan before the zoning envelope and you may find the plan doesn’t fit the buildable area. The sequence exists to protect your budget, not to slow you down. Our technicians have up to 8 years of experience and have watched this order save projects from expensive redesigns more times than we can count.
Step 1: Lot and Utility Assessment
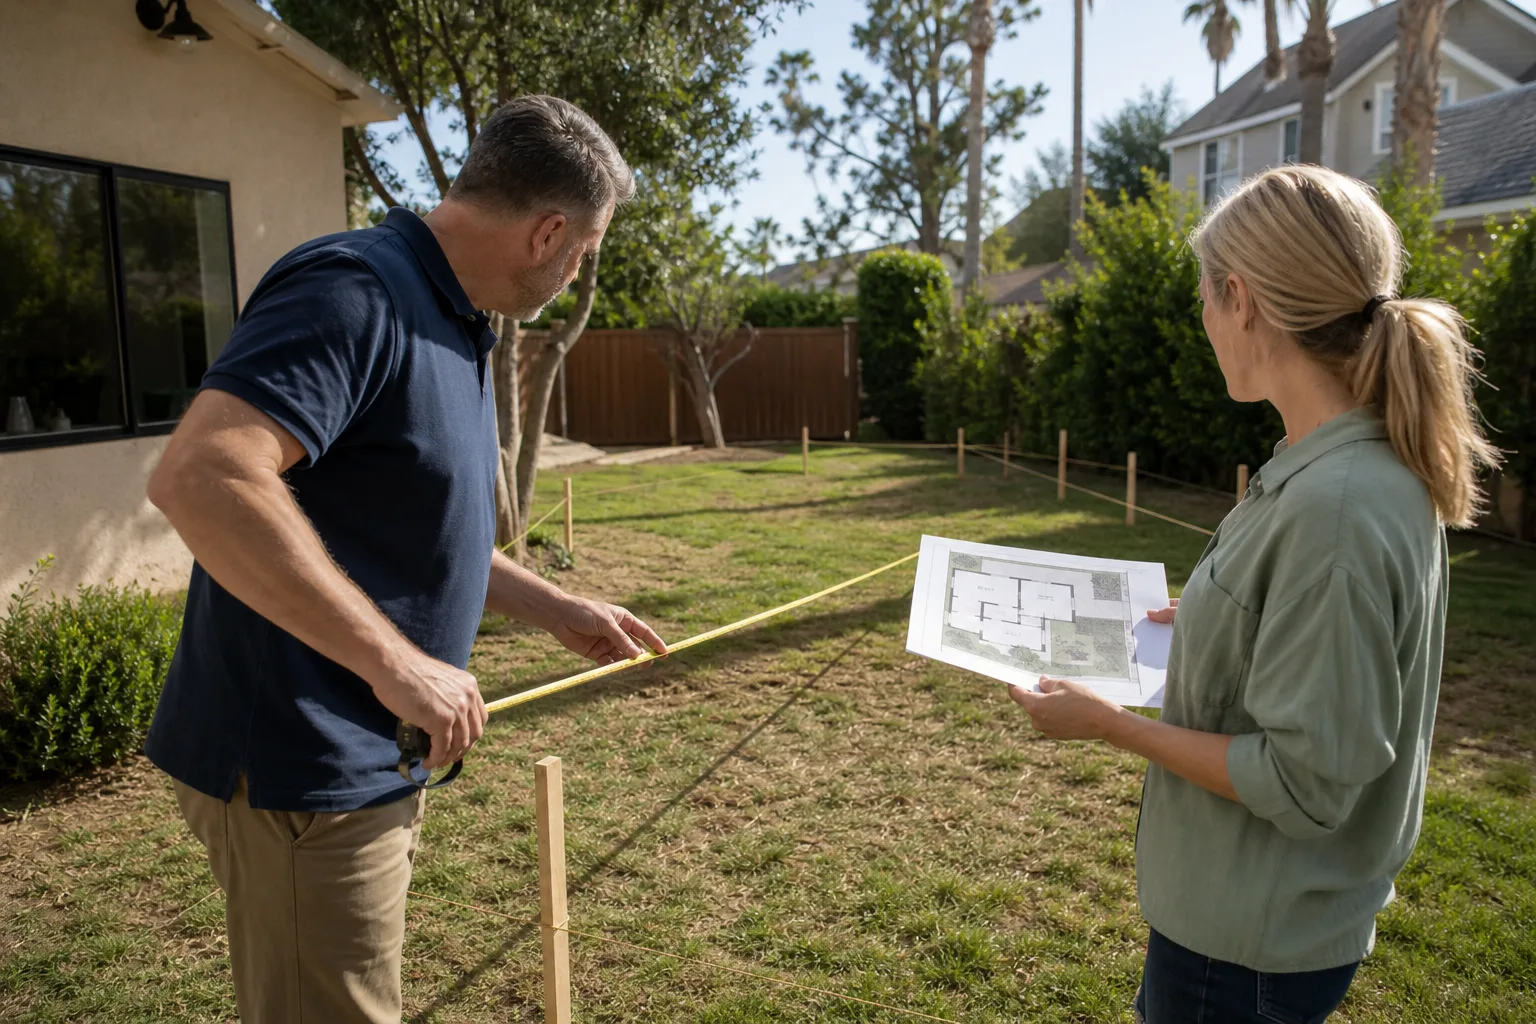
Before anything else, we need to know what your property can physically support. This is the least glamorous step and the one most often skipped by homeowners trying to move fast. A lot assessment answers three questions that shape everything downstream: where can the ADU physically sit, what utilities can reach it, and how will construction access work.
- Setbacks and buildable area. We measure the lot and note existing structures, easements, and any physical limits.
- Utility connections. Where does the main line run, and how far is the ADU from the existing sewer, water, gas, and electrical panel? Distance equals cost.
- Drainage and grading. How does water move across the lot today, and how will a new structure change that?
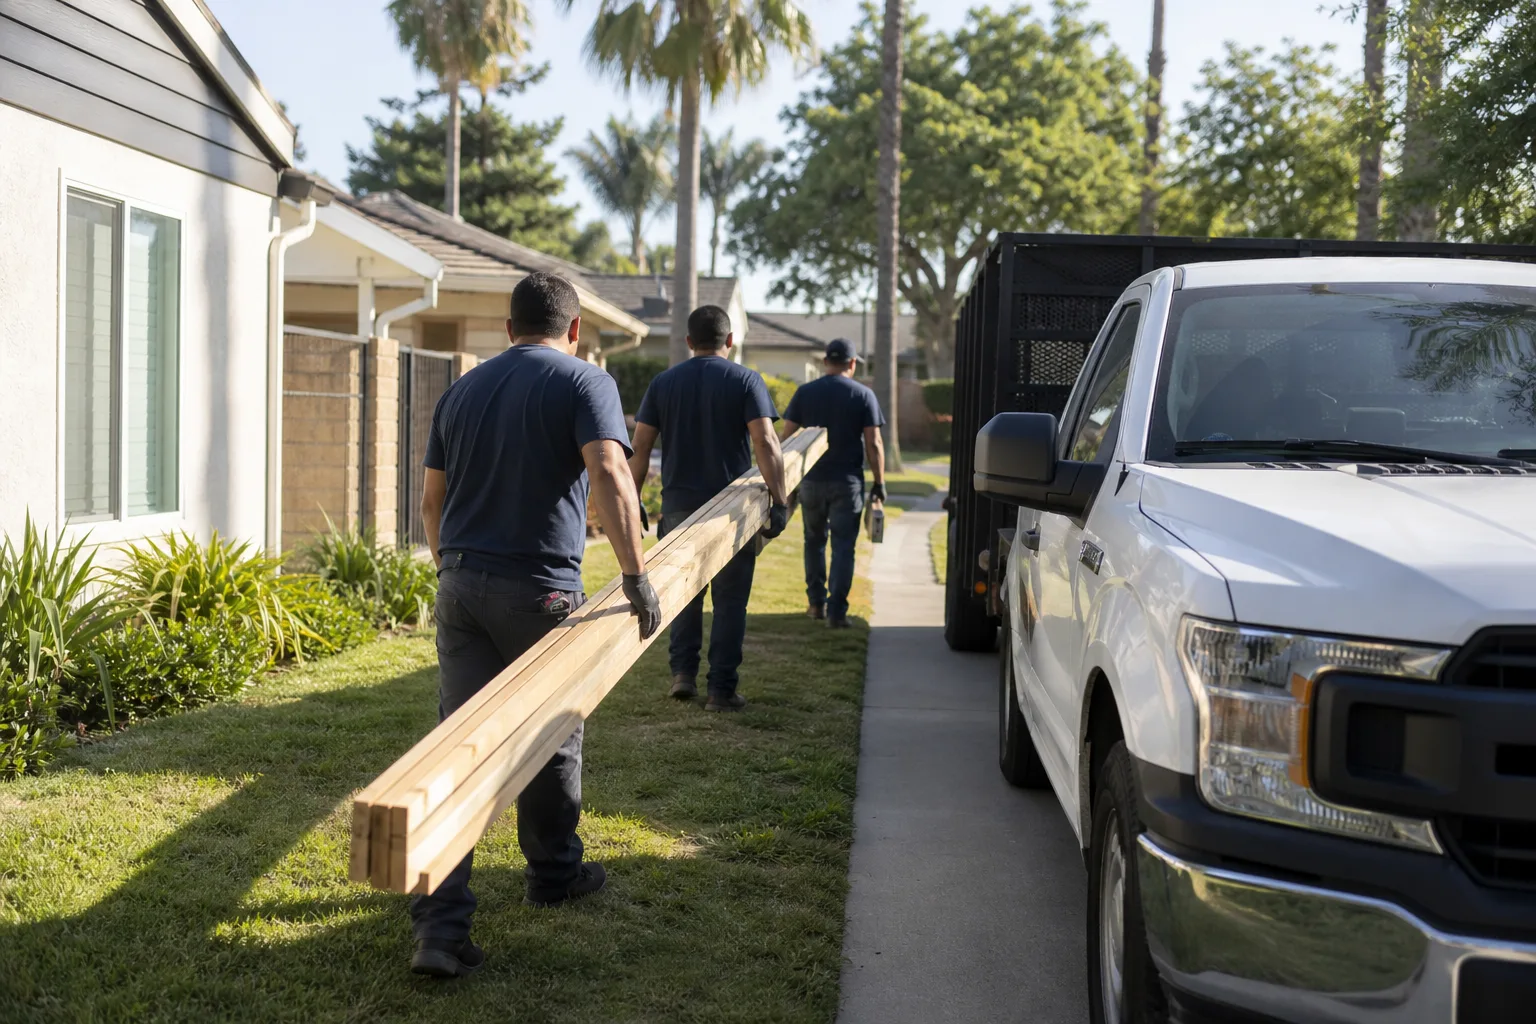
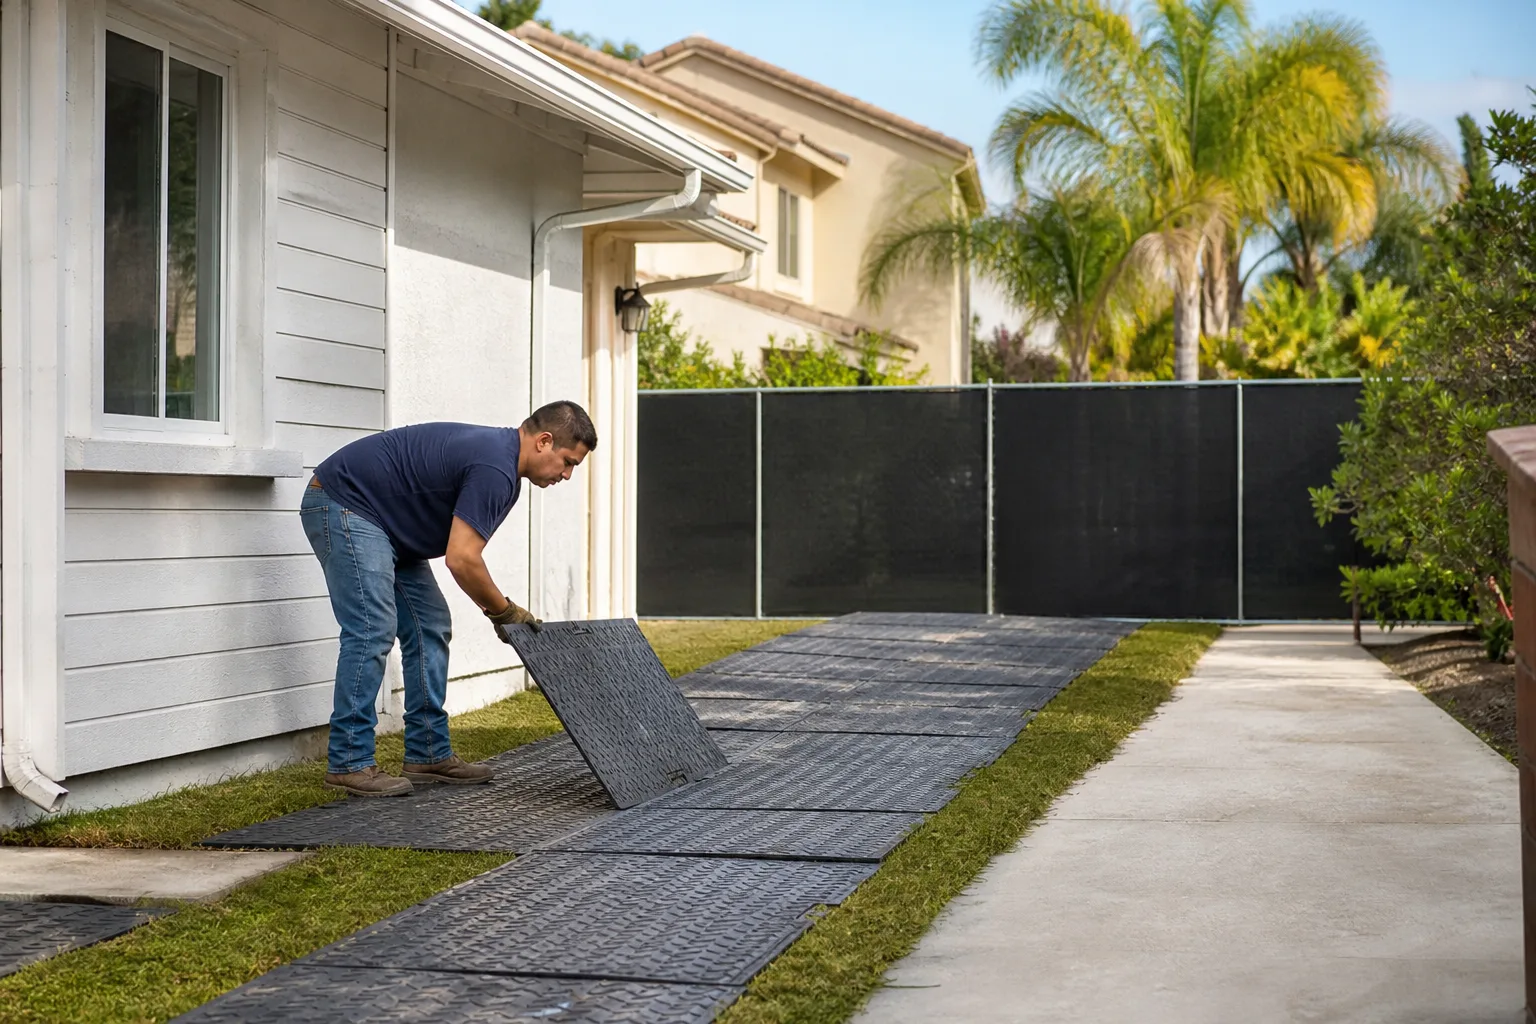
- Construction access. Can equipment reach the site, and where will materials stage?
- Tree and landscape constraints. Mature trees and hardscape aren’t just visual, they affect foundation and drainage design.
In Paradise, the lot assessment also has to account for the desert climate: sun exposure, prevailing winds, and how a new structure will handle summer heat. If you’re weighing a detached unit against a garage conversion, the lot assessment often makes the choice obvious. A garage already has a slab, a footprint, and utility proximity; a new detached build has more design freedom but a fresh foundation and full utility run. This is where an ADU builders specialist earns their keep versus a general contractor who treats the assessment as a formality.
Step 2: The Zoning Envelope Study
The zoning envelope is the three-dimensional box your ADU has to fit inside. It’s defined by the rules your city applies to your specific lot: setbacks, height limits, lot coverage, and floor-area limits. Every municipality sets these differently, and they depend on the lot, not just the address. We don’t guess at them. We confirm them with the city’s planning or building department before plans move forward.
- Setbacks measured from every property line, and they can differ by side, front, and rear.
- Height limits that may or may not allow a two-story unit.
- Lot coverage limits that cap how much of the parcel can be built over.
- Floor-area rules that determine how many square feet the unit can contain.
- Overlay or special-district rules that may apply on top of the base zoning.
The envelope study is where the abstraction becomes concrete. It’s the point where you learn whether your ideal plan actually fits your lot, or whether the envelope forces a narrower footprint, a single-story design, or a garage conversion instead. For many Paradise properties, the envelope is generous enough for a comfortable detached unit. For others, the smart move is converting the existing garage to living space and sidestepping a fresh setback problem entirely. Either way, we don’t draw a floor plan until the envelope is confirmed in writing with the city. Treat this step as the guardrail: it keeps every later decision inside the lines.
Step 3: Why the Structural System Comes Before the Floor Plan
This is the step that separates a smooth ADU project from a scramble. The structural system is the skeleton of the building, and its choice ripples through foundation design, ceiling height, wall thickness, cost, and constructability. Pick the structural system before the floor plan, never after.
- Wood frame. Flexible, familiar to local trades, and adaptable to many floor plans. Slower to build on site and weather-sensitive during construction.
- Steel. Strong and precise, useful when spans or load paths are unusual. Higher material cost and fewer trades comfortable with it.
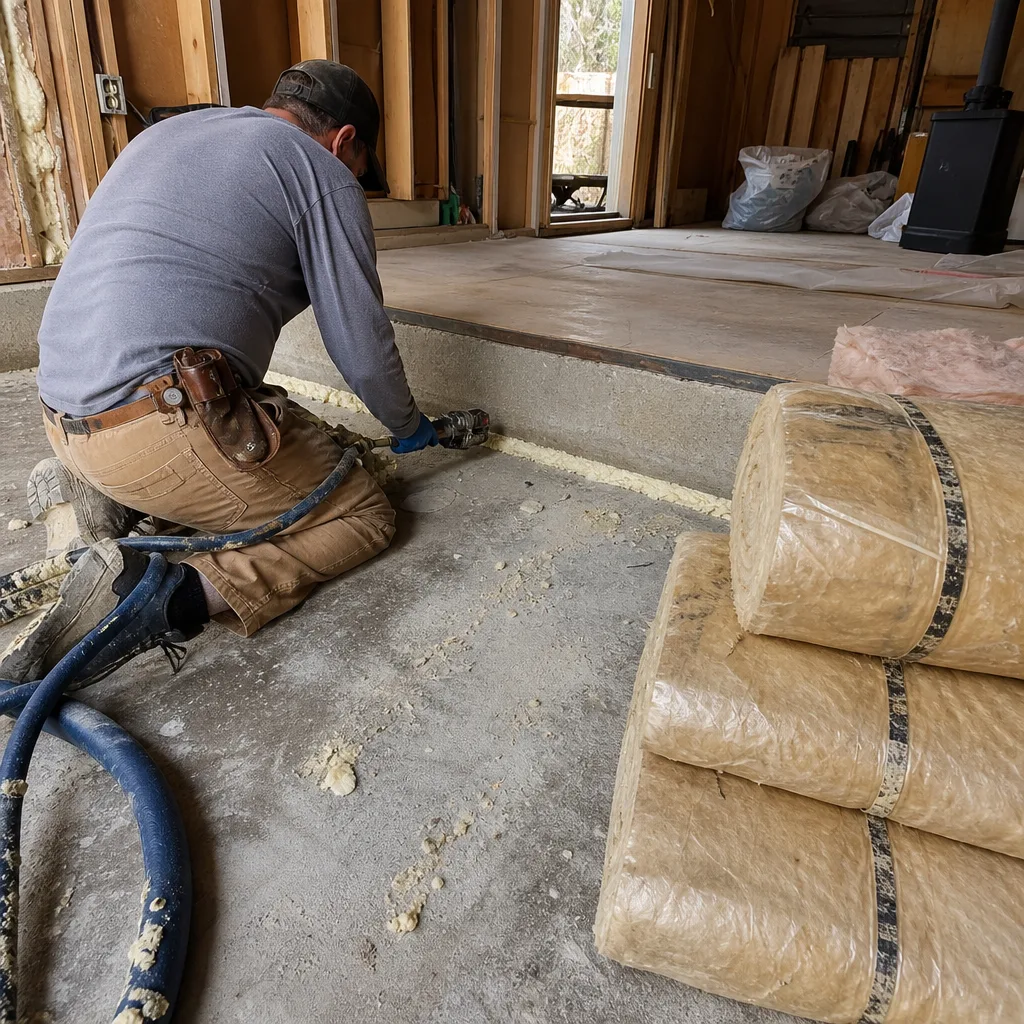
- SIP panels (structural insulated panels). Fast to assemble and well-insulated, which matters in a hot Paradise summer. Fewer design changes once panels are cut.
- Prefab module. Built in a factory and set on a foundation. Fast on site, predictable quality, but locked into the manufacturer’s dimensions and floor-plan options.
That prefab lock-in is exactly why the order matters. If your heart is set on a Casita Builders Paradise project built from a prefab platform, we need to confirm which platform fits your lot before you fall in love with a floor plan the module can’t deliver. That’s where our working knowledge of Abodu, Cover, and Dvele helps: we compare which system matches your site, your ceiling-height goals, and your budget before a single line is drawn. Wood frame gives you flexibility but costs you speed; prefab gives you speed but costs you customization. Neither is wrong. But choosing after the floor plan is how projects blow their budget before permits are filed.
What a Permit-Ready Plan Set Actually Contains
A permit-ready plan set is more than floor plans. Floor plans alone get rejected. A complete submittal for a Clark County ADU project typically includes the drawing sheets and the technical documentation that prove the structure is legal, safe, and code-compliant. Here’s what we assemble before filing.
- Dimensioned site plan. The lot with the ADU footprint located, every setback dimensioned, and existing structures shown.
- Floor plans and elevations. Room dimensions, door and window locations, and all four exterior faces.
- Foundation and framing plan. The structural system drawn out, sized, and specified.
- Energy compliance documentation. The paperwork that demonstrates the design meets the local energy code.
- Utility connection details. How sewer, water, gas, and electrical reach the unit, with the connection points shown.
- Mechanical, electrical, and plumbing drawings. Rough layouts for HVAC, electrical, and plumbing before any wall closes up.
- Title sheet and project notes. The cover sheet that ties the set together and lists the applicable code references.
Miss the energy compliance sheet or the utility connection details and the plan check stalls. Building that documentation isn’t paperwork for its own sake – it’s the checklist that proves the design is complete before the city sees it. That’s a core part of the room addition contractor discipline we apply to ADUs. If you’ve converted a garage before, you know the difference between a plan set that gets approved and one that gets kicked back with a list of corrections. The difference is almost always the sheets people forgot.
ADU Designers vs. Architects vs. Design-Build Firms
Whoever you choose shapes the project, because each type of firm delivers a different package and hands off different pieces. Knowing what each one gives you – and what it leaves for someone else – is how you avoid a gap between design and build.
- ADU designers. Specialists in ADUs and small structures. Fast, cost-effective, and fluent in the type. Many produce plan sets you can build from, but you still need a separate builder for the build.
- Architects. Broader design training and capable of complex or highly custom work. Excellent for unusual sites or standout design. Their work typically ends at the drawings; someone else builds it.
- Design-build firms. One company handles design and construction, which keeps the decision chain under one roof and reduces handoffs. The specialty matters: a design-build firm focused on ADUs knows this niche’s permits and trade-offs better than a general contractor who occasionally takes an ADU.
The main trade-off is accountability. Split design and build and you can end up with a beautiful plan and no team willing to own the constructability of it. A firm that designs and builds owns both. We favor design-build for ADU work because the person solving the plumbing layout is the same person who has to make the connection work in the field. That’s also why we keep our work narrow: new ADUs, room additions, and garage conversions, nothing outside the niche. When you’re deciding, ask each firm one question: who owns the utility connection details and who confirms them with the city? The answer tells you a lot about the handoffs you’re about to inherit.
Design Trade-offs Specific to Paradise Lots
Paradise is inland desert, which means design trade-offs here revolve around sun, heat, and the shape of the lots. A design that ignores the local climate will run up energy costs and feel wrong to live in. Here’s how the local conditions shape the decisions.
- Natural light on east-west units. A unit oriented east to west gets strong morning or late-afternoon sun directly along its long axis. We plan window placement to catch the good light and shade the rest.
- Managing western sun without expensive glazing. West-facing glass bakes in summer. Deep overhangs, strategic roof extensions, shade structures, and smart window placement cost far less than high-performance glass and often outperform it.
- Ceiling height and permit classification. Ceiling height affects livability and can also affect how a jurisdiction classifies the structure, which then changes the rules that apply. It has to be chosen during the structural step, not after.
- Tight lots and short setbacks. Some Paradise parcels leave little room for a detached unit, which pushes the design toward a garage conversion or a more compact footprint.
- Outdoor living as part of the plan. In this climate, a shaded patio or covered entry extends usable space. Designing it in from the start is cheaper and better than adding it later.
We work through these trade-offs on every Paradise project, and they’re why site-specific design beats a stock plan. A plan that suits a leafy suburban lot may fight a west-facing Paradise parcel every day of the summer. The right ADU for your lot starts with how the sun crosses it.
Step 6: Finish Specifications and the Casita Mindset
Finishes come last because they’re the most reversible decisions and the least structural. Cabinets, tile, light fixtures, plumbing trim, paint – all of these live inside a box the first five steps already built. If the structural system and the structural ceiling height are set, finishes become an exercise in taste and budget rather than damage control.
That’s not to say finishes are trivial. They’re where a unit starts to feel like a real home. We call our approach the casita mindset: every ADU we design is treated as a permanent, livable home rather than a transaction. That mindset shows up in finish conversations. We ask how the unit will actually be used. Is it a home for family, a long-term rental, or a flexible space that could be either? A long-term rental benefits from durable, neutral finishes that age well. A multigenerational unit benefits from finishes that feel warm and personal. And because we keep our work in the ADU niche, we know the material choices that hold up over time in a Paradise climate. When rental comes into the conversation, we note that rental rules depend on the city and get checked with the city directly.
On a prefab route, finishes are part of the package you select with the platform, and our familiarity with Abodu, Cover, and Dvele helps you compare what each offers. On a site-built route, we build the finish list from scratch. Either way, spec finishes last. Pick your tile after your foundation is set, and the whole project stays in sequence.
Common Mistakes to Avoid
- Choosing finishes before the structural system. The most expensive sequencing error in ADU design. That gorgeous tile may not survive a change from a vaulted to a flat ceiling, and you won’t know until it’s too late.
- Drawing a floor plan before the zoning envelope is confirmed. A plan that ignores setbacks and lot coverage is a plan you’ll redraw. The envelope comes first, always.
- Skipping the utility distance check. A detached unit far from the main sewer and panel is a unit with a bigger connection bill. Measure before you fall in love with the floor plan.
- Forgetting energy compliance documentation. Plan check stops without it. Build the energy paperwork into the permit set from day one, not as an afterthought.
- Hiring a general contractor who treats an ADU as a side project. Generalists miss the niche permit and utility details that a dedicated ADU specialist handles as routine. That gap costs time in plan review and money on the build.
- Choosing a prefab module before checking lot access. A module that can’t be delivered to the site is a module you can’t build. Confirm access and footing layout before the order.
- Ignoring west-facing summer sun in Paradise. Under-designed shading runs up energy costs. Deep overhangs and window placement beat expensive glass every time.
When to Call a Professional
If you’re weighing a detached unit, a garage conversion, or a room addition and you don’t yet know whether your lot supports your plan, that’s the moment to bring in a specialist. We see homeowners stall for months on the zoning question alone, unsure whether the rules apply their way. If you’re comparing a prefab module against a site-built design and can’t tell which your site favors, or if you’ve drawn your own plan and want a professional to confirm it’s buildable before you file, call us. The lot and utility assessment and the zoning envelope study are where expertise pays off fastest. Our technicians have up to 8 years of experience working through the permit sequence for ADU projects. Casita Builders Paradise offers free estimates in Paradise – call (888) 576-4674. We answer 24/7. Fast dispatch from 7am to 7pm, Sunday through Friday.
Frequently Asked Questions
The schedule is set in the written estimate, because it depends on your lot, your chosen structural system, and the city’s plan review queue. The design decisions follow a fixed sequence, and each step’s timing gets mapped in your estimate rather than promised in the abstract. Call (888) 576-4674 for an exact schedule and estimate; estimates are free.
An ADU specialist can often produce a permit-ready plan set for a standard ADU, while an architect is the better fit for complex or highly custom work. The decisive question is who owns constructability and the utility connection details. Call (888) 576-4674 to talk through which path fits your project.
Prefab often wins on build speed and predictability, while site-built wins on design flexibility and customization. Neither is universally cheaper, and the right answer depends on your lot and your ceiling-height goals. We compare both against your site and give you a line-item quote. Call (888) 576-4674 for an exact quote; estimates are free.
A garage conversion can skip the fresh foundation and full utility run, but it still needs the same design sequence, including confirming the zoning envelope and a complete permit set. The slab and utility proximity already in place often make it the highest-return path. Call (888) 576-4674 to walk through whether a conversion suits your property.
We assemble the permit-ready plan set and confirm the requirements with the city’s planning or building department before filing. The rules depend on the city and the lot, so we confirm them directly rather than guessing. Call (888) 576-4674 to start the assessment and estimate.
The written estimate sets the final price, and we fix pricing upfront so there are no change orders from the design-build side. Scope changes you request are quoted separately before work proceeds. Call (888) 576-4674 for an exact quote; estimates are free.
The Bottom Line
ADU design is a sequence, not a shopping trip. Lot and utility assessment first, then the zoning envelope, then the structural system, then the rough mechanical and electrical layout, then floor plan optimization, and only then finishes. Reverse the order and you redraw plans, refile permits, and lose money before the city has seen anything. A permit-ready plan set for a Paradise project goes beyond floor plans to include a dimensioned site plan, energy compliance documentation, and utility connection details. Prefab or custom – we know both – and the right ADU for your lot starts with the decisions that come first.
Ready to move from first sketch to a plan set that actually gets approved? From permit to move-in, we own the process. Call (888) 576-4674 for a free estimate. We answer 24/7. Fast dispatch from 7am to 7pm, Sunday through Friday.
Written by the team at Casita Builders Paradise.